 Save
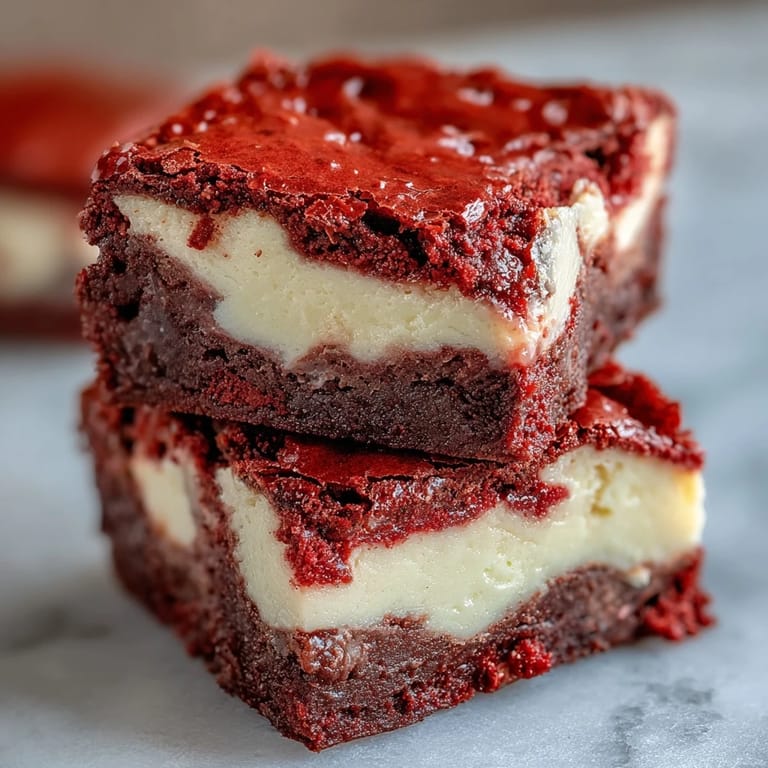
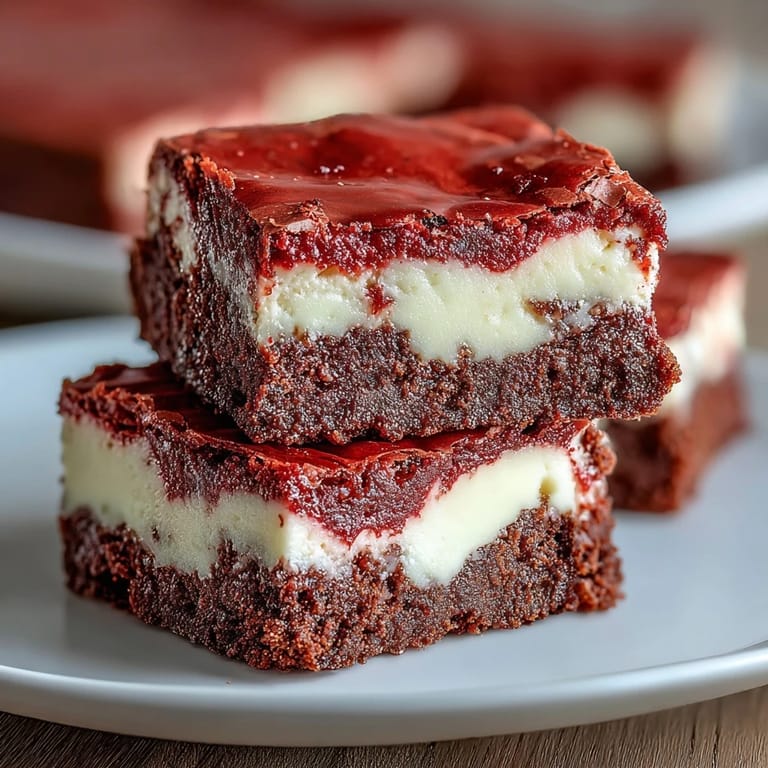
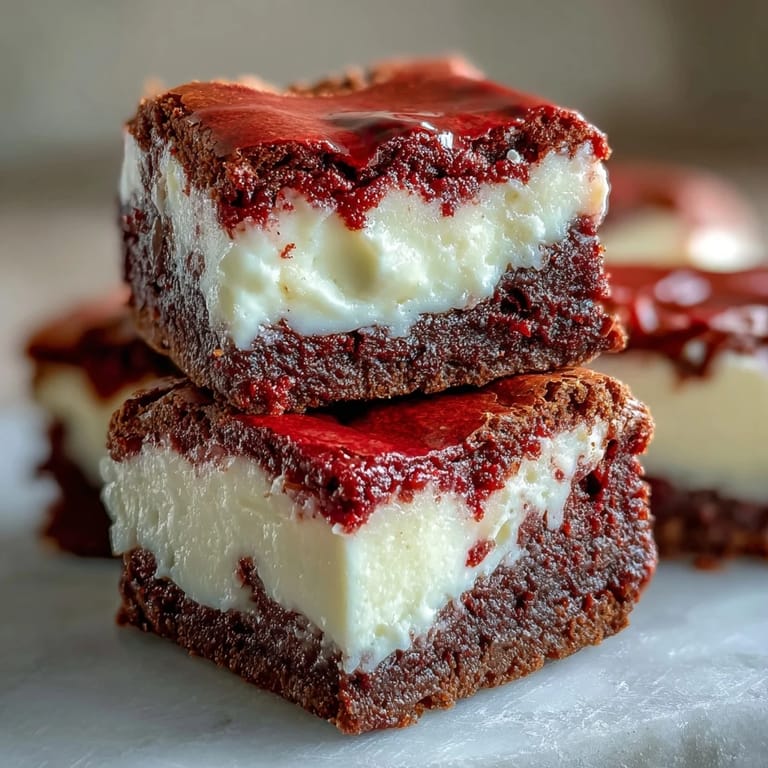
Save My kitchen smelled like cocoa and cream cheese when I pulled these from the oven on a rainy Saturday afternoon. The crimson swirls against the ivory cheesecake looked almost too pretty to cut, but my neighbor had already texted asking what was baking. I sliced into them while they were still warm (a mistake I don't regret), and the fudgy red velvet gave way to tangy cheesecake in a way that made me forget I was supposed to be bringing these to a potluck. Sometimes the best recipes are the ones you have to make twice because the first batch never makes it out the door.
I brought a tray of these to a holiday party once, and someone asked if I'd ordered them from a bakery. That compliment stuck with me more than it should have, mostly because I'd been worried the swirls looked messy. By the end of the night, the pan was empty except for a few crumbs, and I had three people asking for the recipe. It turns out that homemade doesn't have to be perfect to be memorable.
Ingredients
- Unsalted butter: Melted butter gives the brownie layer that dense, fudgy texture; let it cool slightly before mixing so it doesn't cook the eggs.
- Granulated sugar: Sweetens both layers and helps create that shiny, crackly top on the brownie; don't swap for brown sugar here.
- Eggs: Room temperature eggs blend more smoothly and create a better emulsion in both batters.
- Vanilla extract: A little vanilla in each layer ties the flavors together and deepens the chocolate notes.
- Red food coloring: Gel coloring gives a more vibrant red without thinning the batter; liquid works, but you may need a bit more.
- All-purpose flour: Just enough to give structure without making the brownies cakey; measure carefully and don't pack the cup.
- Unsweetened cocoa powder: This is what makes red velvet taste like red velvet, earthy and rich without being too chocolatey.
- Cream cheese: Softened to room temperature is key; cold cream cheese will give you lumps no matter how much you beat it.
Tired of Takeout? 🥡
Get 10 meals you can make faster than delivery arrives. Seriously.
One email. No spam. Unsubscribe anytime.
Instructions
- Prep your pan:
- Line your pan with parchment paper and let the edges hang over like little handles. This makes lifting the whole slab out so much easier when it's time to cut clean squares.
- Mix the red velvet base:
- Whisk the melted butter and sugar until it looks glossy, then add eggs, vanilla, and food coloring until the batter turns that signature crimson. Sift in the dry ingredients and fold gently; overmixing makes brownies tough instead of fudgy.
- Reserve batter for swirling:
- Scoop out a quarter cup of the red velvet batter into a small bowl and set it aside. Spread the rest evenly in your pan, smoothing it into the corners.
- Make the cheesecake layer:
- Beat the cream cheese until it's completely smooth with no lumps, then add the sugar, egg, and vanilla. Pour this over the brownie layer and spread it gently so you don't disturb the base too much.
- Create the swirls:
- Drop spoonfuls of the reserved red velvet batter on top of the cheesecake, then drag a knife or skewer through in loops and swirls. Don't overthink it; messy swirls look just as good as perfect ones.
- Bake until just set:
- Bake for 35 minutes until the center barely jiggles and a toothpick comes out with moist crumbs. The brownies will firm up as they cool, so don't overbake or they'll lose that fudgy texture.
- Cool and chill:
- Let them cool completely in the pan, then refrigerate for at least two hours. Cold brownies cut cleanly into neat squares without the layers smearing together.
 Save
Save The first time I made these, my daughter wandered into the kitchen and said they looked like Valentine's Day in a pan. She wasn't wrong. Now I make them every February, and sometimes in December when I want something festive that isn't gingerbread. They've become one of those recipes that marks the calendar, a little tradition that started by accident and stuck because it tasted like celebration.
Getting the Swirls Just Right
The swirling part intimidated me at first, but I've learned that there's no wrong way to do it. I use a butter knife and make loose figure-eights across the surface, occasionally dragging the blade in a straight line to break up any pattern. The goal isn't perfection but contrast, those veins of deep red running through creamy white. Sometimes I swirl more, sometimes less, and they always look beautiful when they come out of the oven.
Storing and Serving
These brownies taste best cold, straight from the fridge, when the cheesecake layer is firm and tangy against the fudgy brownie. I store them in an airtight container with parchment paper between the layers so they don't stick together. They'll keep for up to five days, though in my house they rarely make it past three. If you're bringing them somewhere, transport them chilled and let them sit out for just ten minutes before serving so the brownie layer softens slightly.
Make Them Your Own
I've tucked white chocolate chips into the brownie batter before, and the little pockets of sweetness were a nice surprise. A friend of mine adds a tablespoon of espresso powder to the cocoa to deepen the chocolate flavor, and another swears by a pinch of cinnamon in the cheesecake layer. The base recipe is flexible enough to handle small tweaks, so don't be afraid to experiment once you've made them the classic way.
- Try adding a handful of white chocolate chips to the red velvet batter for bursts of sweetness.
- A teaspoon of espresso powder in the cocoa will intensify the chocolate without making it taste like coffee.
- For a holiday twist, swirl in a little peppermint extract with the cheesecake layer.
 Save
Save These brownies have a way of turning an ordinary afternoon into something a little special. I hope they become one of those recipes you reach for when you want to impress someone, or just treat yourself to something ridiculously good.
Recipe FAQs
- → Can I use natural food coloring instead of artificial dye?
Yes, you can substitute with natural red food coloring, though the color may be less vibrant. Beet powder is a popular natural option, but may require more quantity to achieve the signature hue.
- → Why do my brownies need to be refrigerated before cutting?
Chilling helps the cheesecake layer set completely, making it much easier to achieve clean, neat cuts. The cold temperature also enhances the fudgy texture of the brownie base.
- → Can I make these in a different pan size?
You can use a 9x9-inch pan, but the brownies will be slightly thinner and may require a few minutes less baking time. Check doneness by testing the center with a toothpick.
- → How do I know when the brownies are perfectly baked?
The center should be just set with a slight jiggle, and a toothpick inserted should come out with a few moist crumbs—not completely clean. Overbaking will result in dry brownies.
- → Can I freeze these brownies for later?
Absolutely! Wrap individual squares tightly in plastic wrap, then store in a freezer-safe container for up to 3 months. Thaw in the refrigerator overnight before serving.
- → What's the best way to soften cream cheese quickly?
Cut the cream cheese into cubes and let sit at room temperature for 30-45 minutes. Alternatively, microwave in 10-second intervals at 50% power, being careful not to melt it.