 Save
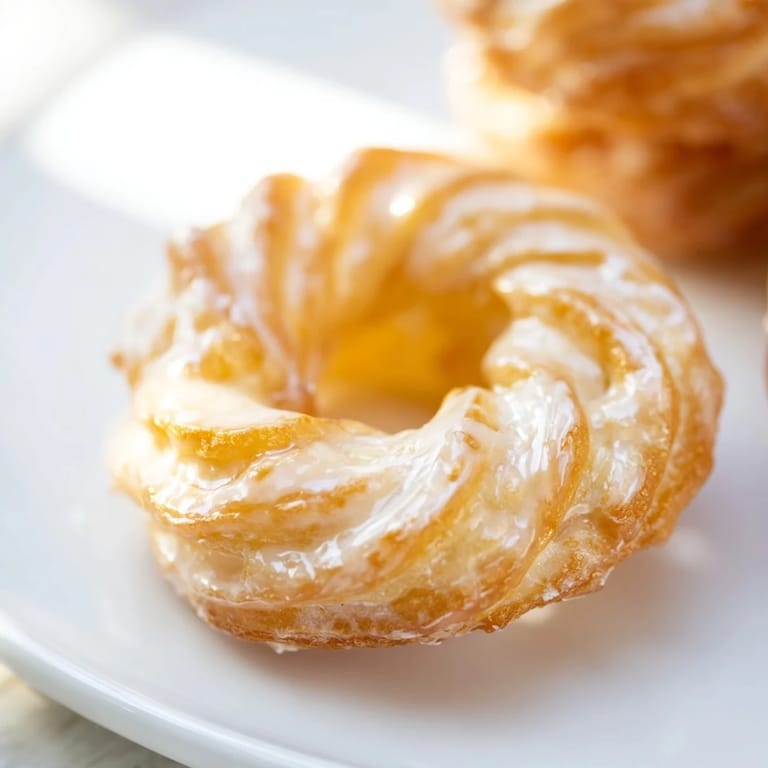
Save The first time I watched choux pastry transform in a pan, I was mesmerized—this humble mixture of water, butter, flour, and eggs suddenly puffing into something light as air. Years later, when I finally tried making crullers, that same magic happened again, except this time I got to pipe them into elegant twists and watch them balloon in hot oil into golden, airy pillows. My kitchen smelled like a Parisian pâtisserie for the entire afternoon, and I couldn't resist eating one straight off the cooling rack, glaze still warm and dripping down my fingers.
I'll never forget bringing a batch to a weekend brunch with friends who'd just moved into their new place. Someone bit into one, closed their eyes, and said nothing for a few seconds—just a smile. That's when I realized these little twisted donuts had become one of my favorite things to make not because they're complicated, but because they manage to feel like a small, edible gift every single time.
Ingredients
- Water: This is your foundation—it steams the choux as it bakes, creating that airy interior that makes people wonder if you used magic.
- Unsalted butter: Cut it into pieces so it melts evenly and emulsifies smoothly into the dough; this step makes a real difference in texture.
- Granulated sugar: Just a tablespoon adds subtle sweetness without overwhelming the delicate flavor of the pastry itself.
- Salt: A pinch that heightens everything without announcing itself.
- All-purpose flour: This is what gives structure; don't sift it beforehand unless you want them even lighter (I usually skip this step for a slightly sturdier crumb).
- Large eggs at room temperature: Cold eggs won't incorporate smoothly, and that glossy dough is your sign you're doing this right—each egg should disappear into the mixture before you add the next one.
- Vanilla extract: A teaspoon of pure vanilla whispers through the whole batch in the best way.
- Powdered sugar: Sifted, so your glaze is silky instead of lumpy and sad.
- Milk or water for the glaze: Start with 2 tablespoons and add more if needed—you want something that coats like silk, not concrete.
- Neutral oil for frying: The oil temperature is everything here; invest in a thermometer if you haven't already, because guessing will betray you.
Tired of Takeout? 🥡
Get 10 meals you can make faster than delivery arrives. Seriously.
One email. No spam. Unsubscribe anytime.
Instructions
- Make the choux base:
- Combine water, butter, sugar, and salt in a saucepan and bring it to a rolling boil—you'll hear it bubbling and see the butter fully melted. Once it's boiling, add all the flour at once and stir like you mean it with a wooden spoon until it transforms into a smooth ball that pulls away from the pan.
- Cool and add eggs:
- Let it rest for a few minutes—this cooling makes a difference in how the eggs incorporate. Then add eggs one at a time, beating well after each one, until you have a dough that looks glossy and thick but is still pipeable; this is the exact moment that separates success from disappointment.
- Pipe the twists:
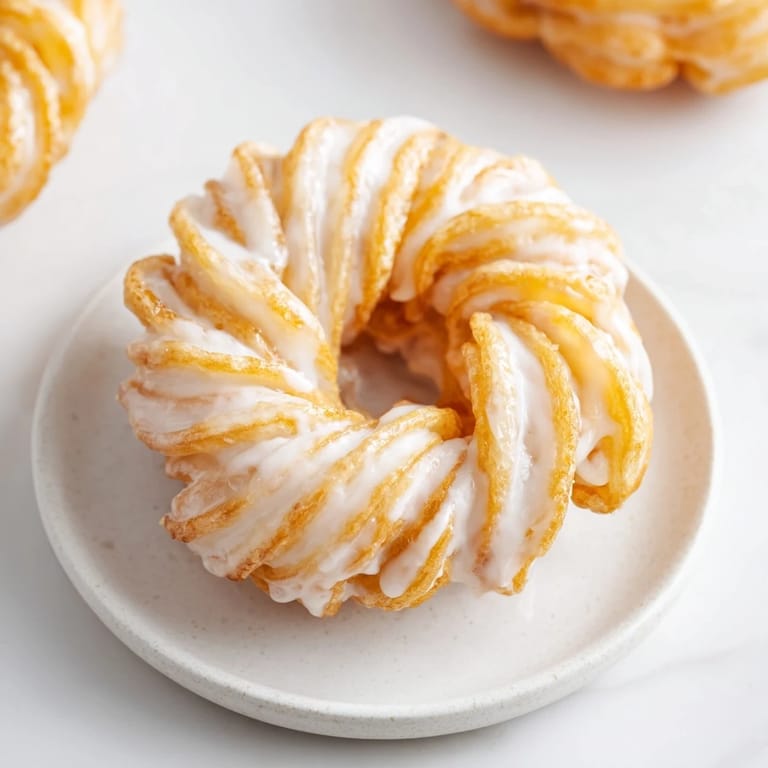
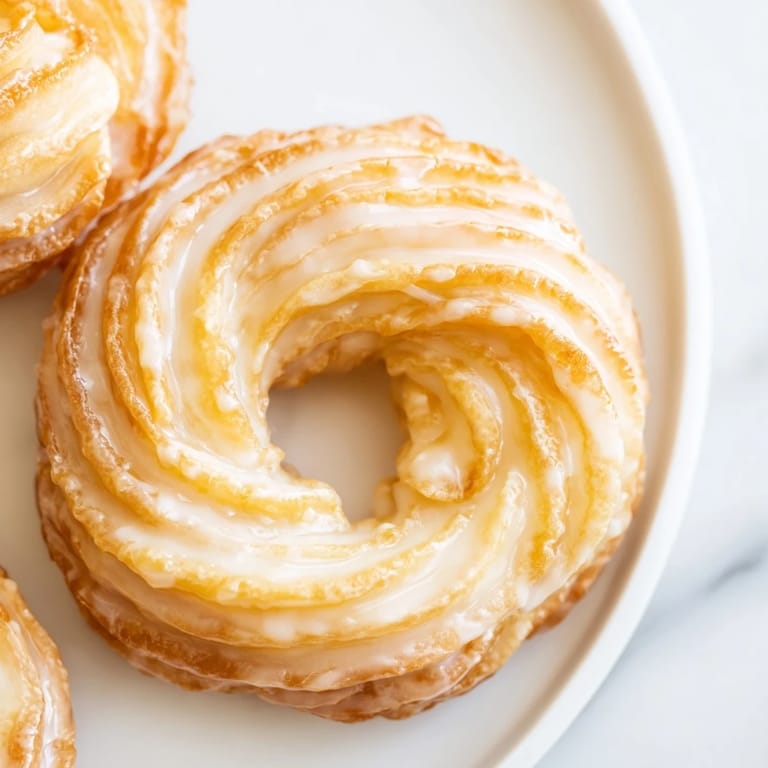
- Transfer your dough to a piping bag fitted with a large star tip and pipe 3-inch rings onto parchment squares—each twist should have that beautiful ridged pattern from the star tip. If you make them too small, they'll puff unevenly; too large, and they'll deflate before crisping.
- Heat the oil:
- Get your oil to 350°F—use a thermometer and trust it. This temperature is the sweet spot where the outside crisps while the inside steams itself into airy perfection.
- Fry with intention:
- Carefully slide 2 or 3 crullers into the hot oil, parchment side down, and leave them for about a minute before using tongs to remove the parchment and let them float. Fry each side for 2 to 3 minutes until they're golden brown and puffed, and listen for the sound—a gentle sizzle means you're at the right temperature.
- Drain and glaze:
- Remove them with a slotted spoon and let them cool on a rack while you whisk together powdered sugar, milk, and vanilla. Dip the warm crullers into glaze—that warmth helps it adhere beautifully—and let any excess drip away before setting them on a rack to finish cooling.
 Save
Save I learned something that morning at the brunch—these crullers aren't just about the recipe or the technique, they're about that moment when someone tastes something you made and it shifts their whole day a little bit. That's when it stopped feeling like I was following steps and started feeling like I was creating something with intention.
The Magic of Choux Pastry
Choux pastry is one of those cooking foundations that seems intimidating until you realize it's actually just chemistry in a pan—water and fat create steam, heat causes protein in eggs to set, and suddenly you have a dough that puffs dramatically. The key is understanding that this dough isn't meant to be manipulated like regular cookie dough; it's meant to be coaxed and encouraged. Once you've made choux once and seen it work, you'll start imagining what else you could pipe and fry—éclairs, gougères, bâtons à la reine. This recipe is your gateway to that world.
Variations and Personal Twists
I've played with the glaze in so many ways over the years—adding lemon zest on mornings when I wanted brightness, a whisper of almond extract on occasions that felt special, even a touch of cardamom when I was craving something warm and slightly exotic. The base recipe is so accommodating that these crullers become a canvas for whatever mood you're in. Some friends dust theirs with cinnamon sugar while they're still warm; I've even tried a dark chocolate dip that turned them into something more decadent.
From Stovetop to Table
What strikes me most about making these is how quickly they go from raw dough to something restaurant-quality on a plate. The frying happens fast, the glazing takes minutes, and suddenly you have twelve golden treats that look far more complicated than they actually are. There's something deeply satisfying about that—putting in moderate effort and getting results that feel luxury. It's the kind of recipe that makes you feel like a better cook, even though the secret is mostly just following the steps and respecting the oil temperature.
- If you want an extra crisp exterior, fry at 355°F instead of 350°F and watch them closely for that deep golden color.
- Make the glaze while the crullers are cooling so it's ready the moment they need it, and always dip them while they're still warm for the best coating.
- If you're nervous about the parchment step, practice with one cruller first to see exactly how it behaves—confidence is everything with hot oil.
 Save
Save These crullers have become my go-to when I want to make someone smile with something I've made with my own hands. They're proof that you don't need a hundred ingredients or complicated techniques to create something that feels truly special.
Recipe FAQs
- → What type of dough is used for French-style crullers?
They’re made using choux pastry, known for its light and airy texture achieved by cooking the dough before adding eggs.
- → How do you achieve the twisted shape?
The dough is piped through a star tip into circular twisted rings on parchment squares before frying.
- → What oil is best for frying crullers?
Neutral oils with high smoke points like canola, sunflower, or vegetable oil are ideal for frying.
- → Can these crullers be baked instead of fried?
Yes, baking at 400°F for 20–25 minutes yields golden crullers with a less crisp texture.
- → How is the glaze prepared?
A simple mixture of powdered sugar, milk or water, and vanilla extract is whisked into a smooth glaze for dipping the warm crullers.
- → Are there flavor variations for the glaze?
Adding finely grated lemon or orange zest to the glaze provides a citrusy twist that complements the crullers.