Save
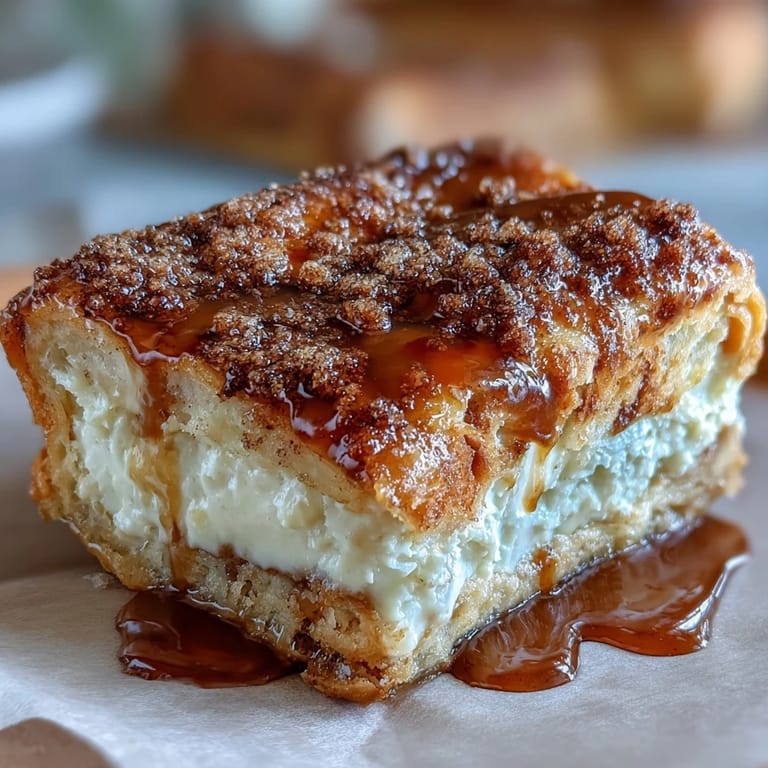
Save Some recipes sing in the kitchen long before you taste the first bite. When the aroma of cinnamon and butter from these sopapilla cheesecake bars began to fill my apartment during a gray spring day, I remember my neighbor knocking just to ask what smelled so comforting. They.re a favorite for Cinco de Mayo, but honestly, their golden sweetness gets requested year-round. Each batch seems to disappear faster than I.d like.bundle of laughter, cheesy stories, then that sugary crackle on the fork. Maybe it.s that secret layer of nostalgia for bakery treats and holidays, or maybe it.s just the irresistible combo of pastry and cheesecake.
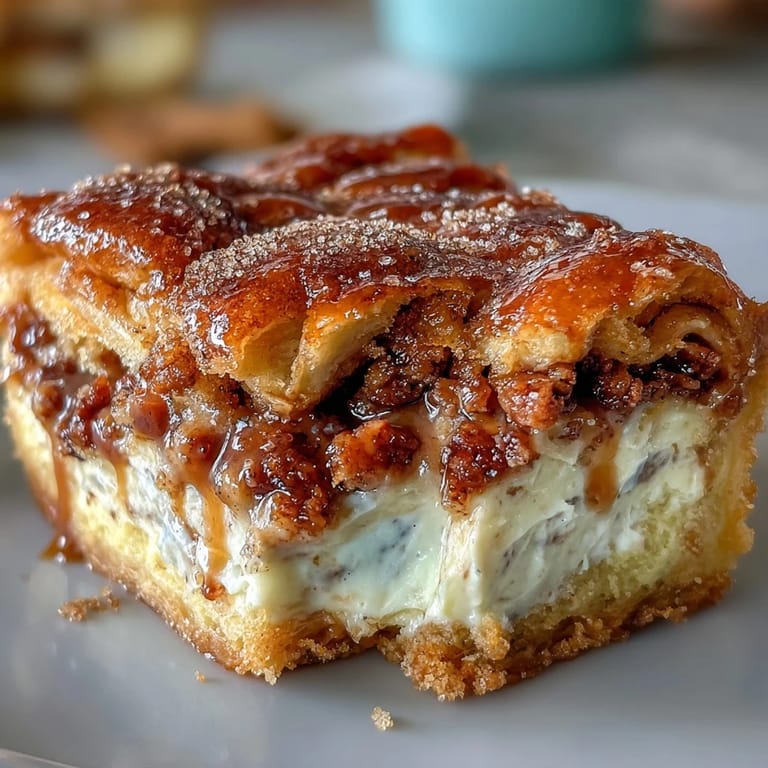
The first time I made these for a Cinco de Mayo potluck, I misjudged the cooling time in my excitement and sliced them while still warm. Melted cheesecake filling oozed out, and my friends nearly cheered. Turns out, nobody minded the gooey squares at all; in fact, people started swapping stories about their own kitchen impatience. Serving them warm or chilled became part of the ritual. Now every time I bake them, someone asks if the bars are "potluck gooey" or "party perfect cold."
Ingredients
- Refrigerated crescent roll dough: Pre-rolled and perforated, these make the perfect buttery base and topping, and with a quick pinch of the seams, you get a nearly seamless sheet (pressing with your fingers helps the layers bake up flakier).
- Cream cheese (softened): Let it rest on the counter until it sinks easily under your finger; cold cream cheese leads to lumpy filling.
- Granulated sugar: Used both in the filling and for the cinnamon-sugar topping; I like a finer grind so it dissolves smoothly into the cheesecake layer.
- Vanilla extract: Splurge on real vanilla for a flavor that lingers after every bite (learned the difference the hard way).
- Unsalted butter (melted): Poured atop the dough, it merges with the cinnamon sugar for those signature crispy edges; pooling is good!
- Ground cinnamon: Don.t underestimate a fresh jar; old cinnamon loses its punch and that fragrant top layer is what makes noses twitch across the room.
Tired of Takeout? 🥡
Get 10 meals you can make faster than delivery arrives. Seriously.
One email. No spam. Unsubscribe anytime.
Instructions
- Prep Your Pan:
- Set the oven to 350°F (175°C) and lightly grease your 9x13-inch pan so nothing dares stick later.
- Roll Out the Base:
- Press the first sheet of crescent dough into the pan, pinching seams and coaxing it to each corner; even if it rips, patching up is part of the fun.
- Create the Creamiest Filling:
- Beat together softened cream cheese, sugar, and vanilla until cloud-smooth and fluffy; don.t be afraid to taste-test a fingerful.
- Layer and Smooth:
- Spread cream cheese filling all the way to the edges (no rogue corners left behind), and take a moment to admire those swirls.
- Seal with Dough:
- Lay the second crescent sheet carefully on top; I find laying it in sections and pressing softly gives the neatest coverage.
- Butter the Top:
- Pour melted butter over the dough with no shame—the more even, the better the crisp crust later.
- Cinnamon Sugar Cheers:
- Stir sugar and cinnamon together, then scatter the mixture from on high, raining flavor over every inch.
- Bake Until Golden:
- Slide the pan into the oven for 28–32 minutes until the aroma tempts every hungry soul, and the top looks deeply golden and puffed.
- Cool and Slice:
- Let the bars cool for at least 30 minutes (worth the patience), then slice into dreamy, melt-in-your-mouth squares; serve warm for goo or chilled for clean layers.
 Save
Save  Save
Save Sometimes, after a crowded kitchen dinner, someone sneaks back for a last cold bar, and it.s like sharing a little secret. The laughter over cracked cinnamon tops and the soft hum of contentment around the table remind me why dessert is always more than just dessert.
Making It Your Own
I.ve tried folding in a handful of lemon zest or swapping some sugar for a drizzle of honey, and each tweak adds a new personality. Even serving them with fresh berries turns them into something lighter and more festive, perfect for a spring afternoon.
Serving Secrets to Impress
If you.re feeding a crowd, cut the bars small for bite-sized treats, or warm them up and top each one with a scoop of vanilla ice cream. Sometimes, I even bring a jar of dulce de leche so everyone can swirl on a little extra magic.
Troubleshooting and Last Touches
Don.t worry about a little unevenness on top—the rustic look is part of their charm, and underbaking slightly makes for a molten, cheesecake-heavy center. If you find yourself with leftovers, chill them and they.ll firm up to the most perfect, snackable texture.
- Use a hot knife for smooth, clean cuts every time.
- Store bars in an airtight container so they don.t dry out overnight.
- Sprinkle a little extra cinnamon sugar just before serving for a fresh hit of spice.
 Save
Save  Save
Save However you serve them, these sopapilla cheesecake bars bring a playful spirit to the table. Enjoy the cozy mess, the sweet perfume, and the way friends always ask for just one more piece.
Recipe FAQs
- → Can I use low-fat cream cheese?
Yes—low-fat cream cheese will work and reduce richness slightly. Chill longer before slicing to help bars hold their shape.
- → Any tips for getting an even top layer coverage?
Gently unroll the second dough can and press seams together to cover gaps; tuck edges and press lightly so the top seals over the filling without tearing.
- → How do I prevent soggy centers?
Beat the cream cheese until smooth and avoid overmixing with added liquids. Bake until center is set and allow the pan to cool 30 minutes so bars firm up before cutting.
- → Can I make these ahead of time?
Yes—store cooled bars in an airtight container in the fridge up to 3 days. Bring to room temperature or warm briefly before serving for a softer texture.
- → What are good flavor variations?
Stir a teaspoon of lemon zest into the filling, swap cinnamon for pumpkin spice, or scatter fresh berries over the top after baking for brightness.
- → How should I reheat individual bars?
Warm single servings in a 300°F oven for 6–8 minutes or microwave 15–20 seconds for a warm, melty finish—watch closely to avoid drying out.